The Ultimate Guide to Installing a Pellet Stove in Your Home
Updated 4 months ago
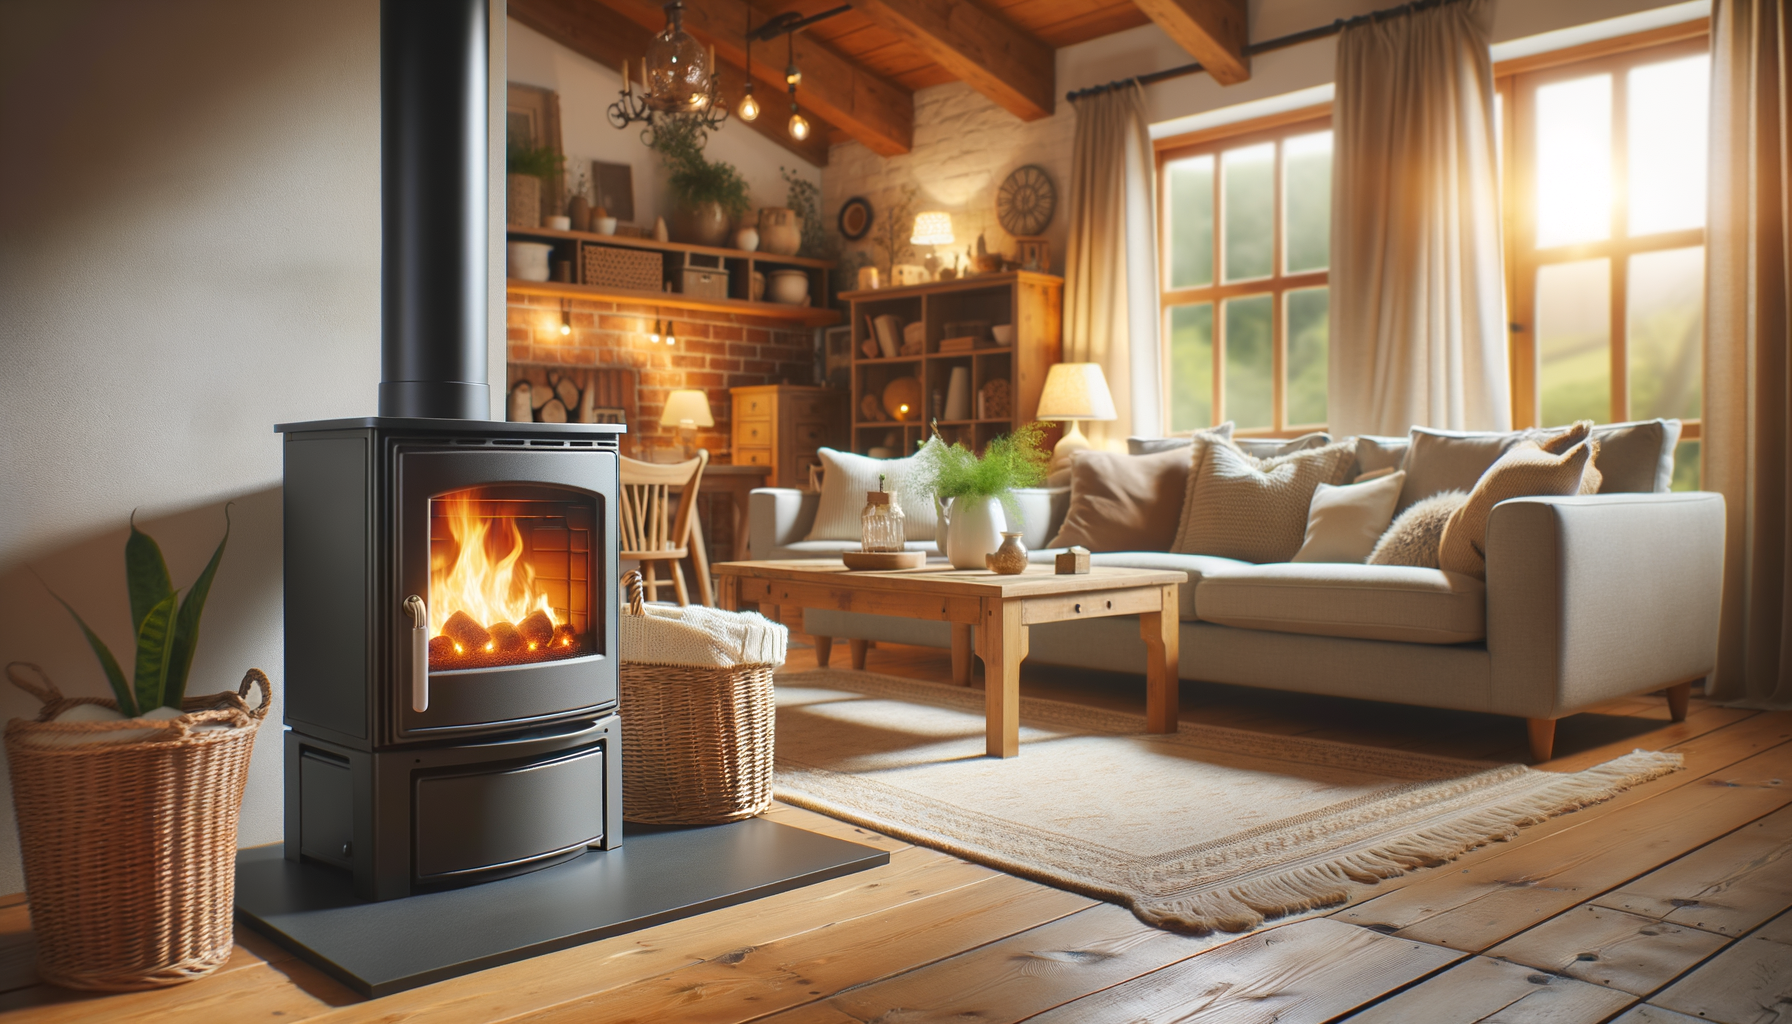
Embarking on the journey of installing a pellet stove can bring comforting warmth and aesthetic appeal to your home, as well as an efficient and eco-friendly heating source. This guide is designed to provide you with thorough instructions, safety advice, and expert tips to ensure a successful and safe pellet stove installation process.
Benefits of Pellet Stoves
Before diving into the installation process, let's touch on why pellet stoves are a compelling choice for homeowners. Pellet stoves are known for their efficiency, sustainability, and ease of use. They use compressed wood or biomass pellets as fuel, which burn cleaner than traditional wood and produce less ash and smoke.
Moreover, they are often more convenient than other heat sources, as they can often be operated automatically with a thermostat, ensuring a constant and consistent source of heat. They also tend to be more cost-efficient over time, especially when considering the rising costs of natural gas or oil.
Preparing for Installation
Before proceeding, take the time to consider your installation area. Pellet stoves can be installed as freestanding units or inserts in an existing fireplace. Ensure ample space for the stove and proper clearance from combustible materials is available according to local building codes and the manufacturer's instructions.
Assess Your Heating Needs
Understanding the scale of your heating needs is vital. The heating output of pellet stoves is measured in British Thermal Units (BTUs). A typical stove may range from 30,000 to 50,000 BTUs, suitable for heating a modest-sized space. Larger spaces may require stoves that output close to 60,000 BTUs or more, depending on factors like ceiling height, insulation, and climate.
Step-by-Step Installation Process
Now, let’s walk through the general steps required to install both freestanding and insert model pellet stoves.
Freestanding Pellet Stove Installation
Step 1: Hearth Pad and Stove Placement
Begin by positioning a fire-resistant hearth pad where the pellet stove will stand. This pad should be made of non-combustible materials like tile or stone and must extend beyond the base of the stove to protect your flooring.
After the pad is in place, carefully place your pellet stove on top of it, ensuring it's near an electrical outlet and has access to an exterior wall for the vent.
Step 2: Wall Venting
Identify and mark the wall section where you'll cut the hole for the stove’s venting system. The diameter of your vent hole will depend on the vent pipe's size specified by your stove manufacturer.
Step 3: Vent Thimble and Piping Installation
Install a vent thimble as a pass-through to protect the wall materials and provide a stable structure for the vent pipe. Subsequently, seal the thimble correctly and fit the vent pipe through the hole, securing according to the instructions.
Step 4: Electrical and Vent Connection
Plug the stove into the electrical outlet and attach the vent pipe to the stove's exhaust outlet. This is also an ideal time to install any external vent hardware, such as caps or screens to prevent weather and debris intrusion.

Insert Pellet Stove Installation
If you're installing an insert pellet stove into an existing fireplace, the process will differ slightly.
Step 1: Fireplace Preparation
Thoroughly clean the fireplace and ensure it's free of any debris or obstructions. This might include removing the fireplace damper to allow for the chimney liner installation.
Step 2: Chimney Liner Insertion
The installation of a rigid or flexible chimney liner allows for the effective expulsion of exhaust gases. Drop the liner down from the roof and ensure it's correctly positioned and secured within the chimney.
Step 3: Adapter and Electrical Connection
Fit the liner adapter to your stove's exhaust outlet and plug your stove into a power source - taking care to position these components for easy connection once the stove is in place.
Step 4: Placing the Stove and Liner Connection
Carefully slide the pellet stove into the fireplace opening. Connect the exhaust outlet to the liner, ensuring a tight fit and proper seal.
Step 5: Securing the Chimney Top
Finish by securing a cap on the top of the chimney liner, protecting your system from the elements.

Post-Installation Checklist
Once your stove is installed, perform a final walkthrough of these essential post-installation steps:
- Ensure all connections are tight and seals are intact.
- Check the functionality of the venting system and pellet feed.
- Test the stove’s electronic controls and thermostat, if applicable.
Remember to comply with all local regulations and standards for home heating system installations.
Final Thoughts
Adding a pellet stove to your home is a fulfilling project that can lead to years of cozy and efficient heating. Always prioritize safety and don't hesitate to consult with a professional installer if the task seems daunting. For tailor-made advice or a quote for professional installation, make use of our cost calculator.
FAQs
Finally, here are some common questions about pellet stove installation to assist you further:
- Do I need a professional to install a pellet stove?
- How often should I maintain my pellet stove?
- What are the signs that my venting system needs attention?
Installing a pellet stove can be a DIY endeavor, but factors like your comfort with the process and the complexity of the installation may necessitate professional assistance. Regular maintenance is typically needed annually or as per manufacturer guidelines, and any changes in the stove’s performance or unusual sounds may indicate venting issues requiring inspection.
By following these comprehensive guidelines, your journey to installing a pellet stove should be smooth and successful, bringing warmth and comfort to your home for years to come.